Concept to Build
Custom-Made Rugby Memorabilia Table
Sep
Estimated reading time: 6 minutes
In December of 2020 we were commissioned to design a low table to store items of rugby memorabilia which had personal significance. The items would not be large, and the table would sit between two sofas in an office that was being built.
There were no additional specifications for the design from the client.
The Design Concept
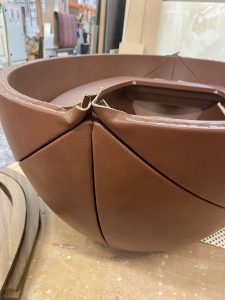
We decided to base the concept on a traditional rugby ball which is made in leather and stitched to enclose the inflated bladder.
When not inflated and being stored before use, rugby balls are usually collapsed so that the two opposite lines of stitching touch, making an oval “bowl”.
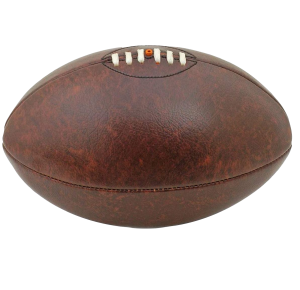
This was the shape we proposed to the client. It would mean the overall shape would allow storage of items as well as being faithful to the form of an actual rugby ball.
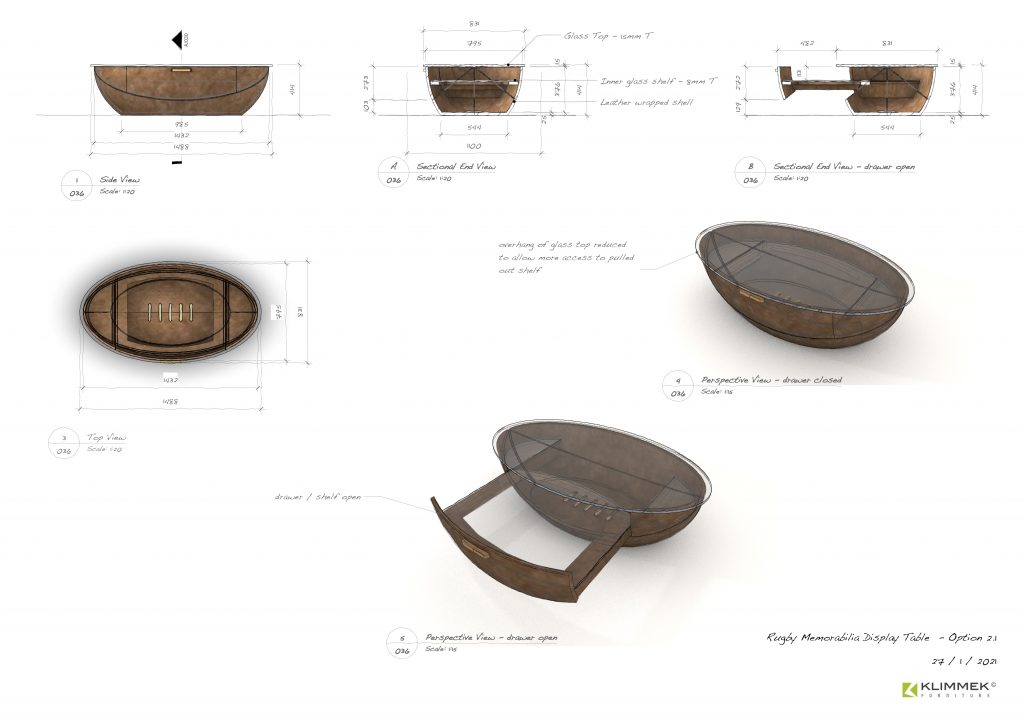
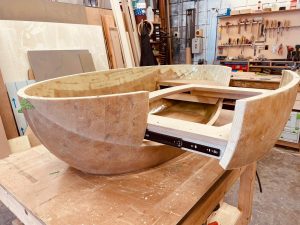
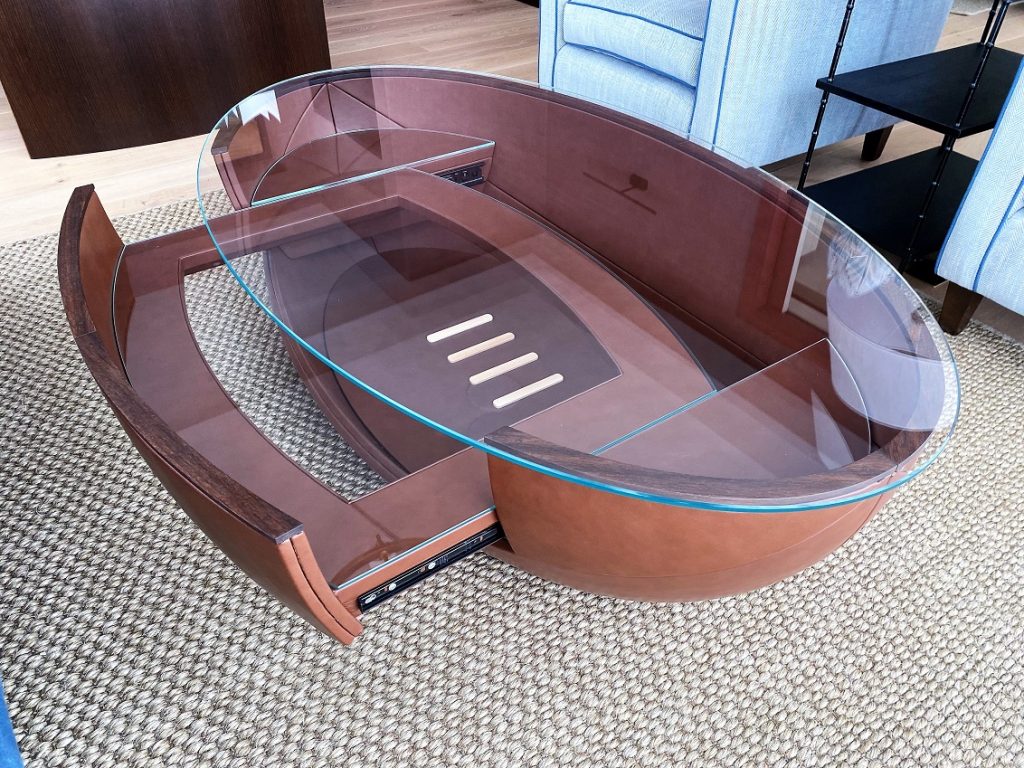
In further discussion with the client about how to access and place the items of memorabilia, it became clear that a shelf that would pull out like a drawer would be a good idea and so that became our version 2.
As it became clearer too what other furniture would be in the room, specifically the size of the sofas that the rugby table would sit between, version 2.1 was scaled back slightly in size.
After some discussion with the interior designers, we selected the leather we’d use. And that was followed with the go-ahead from the client to make the table.
The Design Process
Now the slightly harder part of making the table began. Initially we thought we would simply bend and glue thin layers of plywood around a male former. As we trialled this, it became apparent that the 3D nature of the curved surfaces – based on an ellipsoid – and the inherent stiffness of plywood, meant that this approach would not work.
We then trialled a flexible sheet material made from a wood chip and latex mix, but this was too pliable and would not hold the shape.
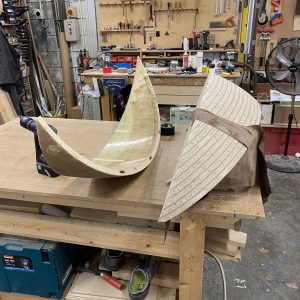
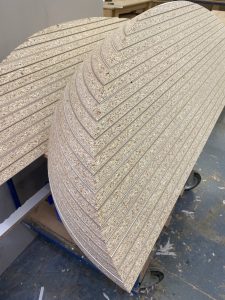
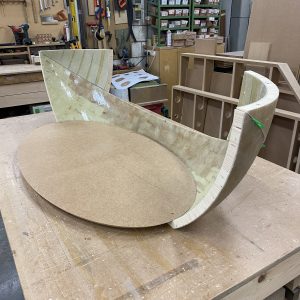
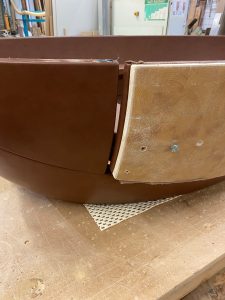
Nigel who was making the table then drew on his former experience in boat building and proposed that we start with a layer of fibreglass to make a rigid surface and then build the layers of wood chip / latex material with fibre glass between each layer. It turned out that the latex and fibreglass resins didn’t like each other and would not form a bond.
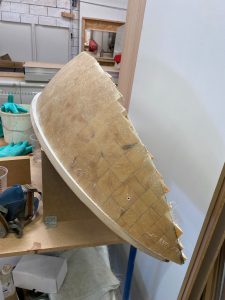
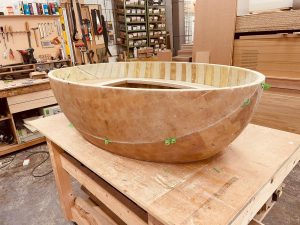
Nigel then had the idea of using square solid timber end grain blocks set into the first layer of fibre glass resin to create a first layer. The centre of each block would be the correct thickness and the corners were then sanded back to create the base layer for the outer layer of fibreglass and resin. Several hours of elbow grease later and we finally had a rigid shell.
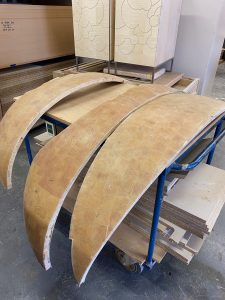
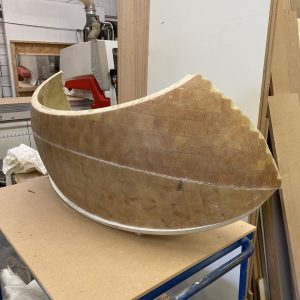
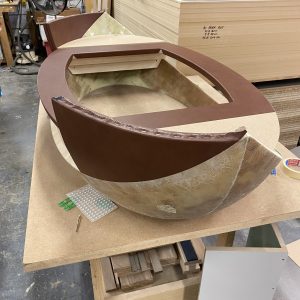
Each part was then cut to final size using the forming jigs as a guide. The parts were to be joined on what would have been the seams of a rugby ball and these lines would also allow us to join the inner and outer leather linings.
In areas that were to be hidden these were simply stapled, but in areas that would be visible, such as where the drawers pulled out, we opted to cut a groove that we could tuck the ends of the inner and outer leather into to form a seam.
Five strips of maple were then used to simulate the lacing on the bottom of the table.
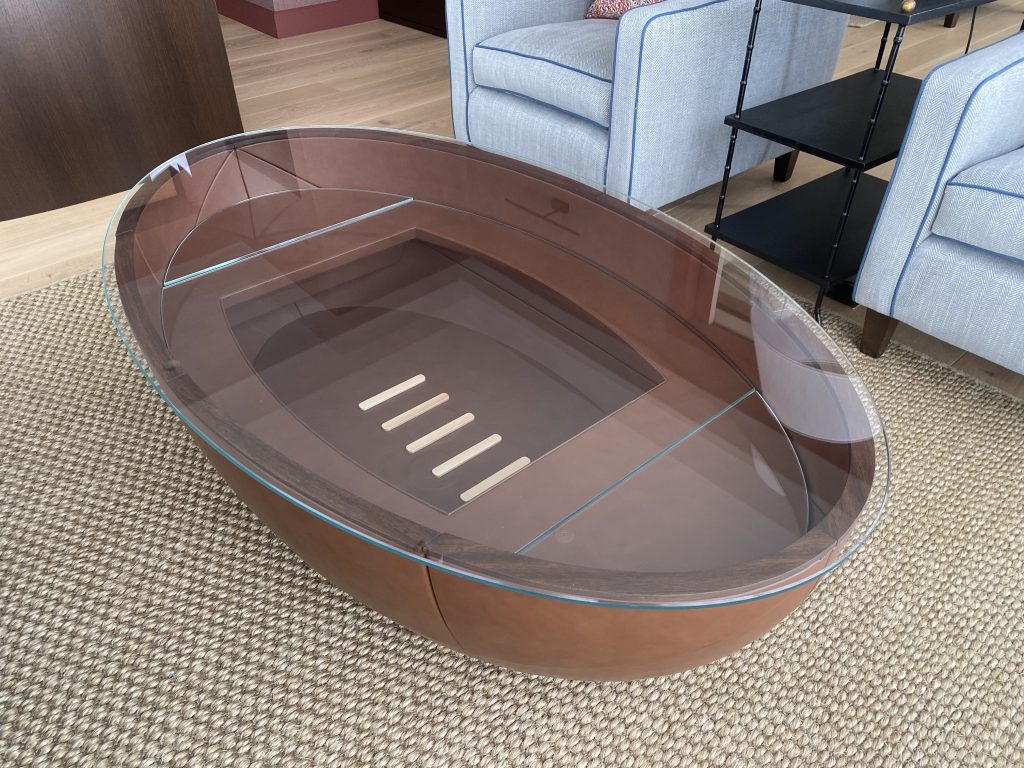
The Design Completed
The top edge of the table supporting the glass tabletop we trimmed in solid fumed oak. And for the glass top and shelf parts we used Optiwhite glass which is clearer than normal glass and does not cast a green colour.
Below are photos showing some of the steps involved in creating the rugby memorabilia table.

Should you have a design that you’d like to discuss with us, do get in touch and let’s talk.