Home
5 Steps to Creating a Gallery Wall
May
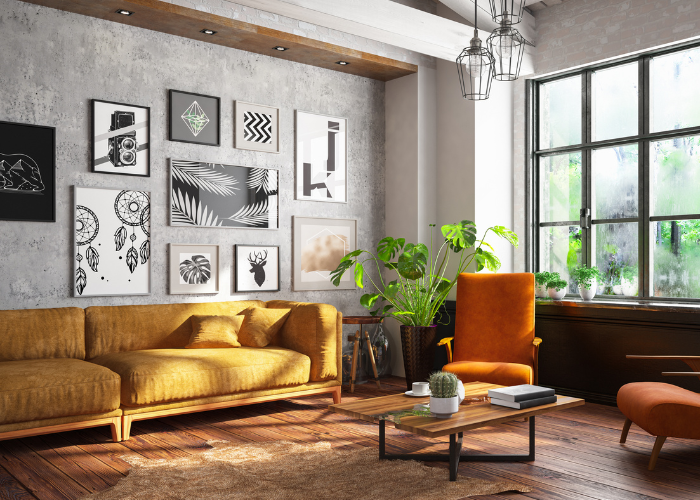
Creating a gallery wall is a terrific way to display art, photos, mirrors, even postcards (remember those?) and bring a creative flair and talking point into a room. They are also a wonderful way of separating space in an open-plan room. Gallery walls are not a new trend, they’ve been around forever and while that might be the case, not everyone is fully comfortable about creating one.
To help you get started in creating a gallery wall in your home, we’ve put together 5 easy-to-follow steps. It’s worth noting here that there is no rule saying you must have a competed gallery wall at the outset, you can build it up gradually with things that you find, love, and want to display in your home.
Step 1 – Choose What You Want to Display
The most important part of the process. Collect all the items you want to display. It could be family photos, mirrors, travel souvenirs, abstract prints, or a combination of all. To give your gallery wall a creative feel, make sure to go for a variety of different shapes and sizes.
Step 2 – Decide on Frames
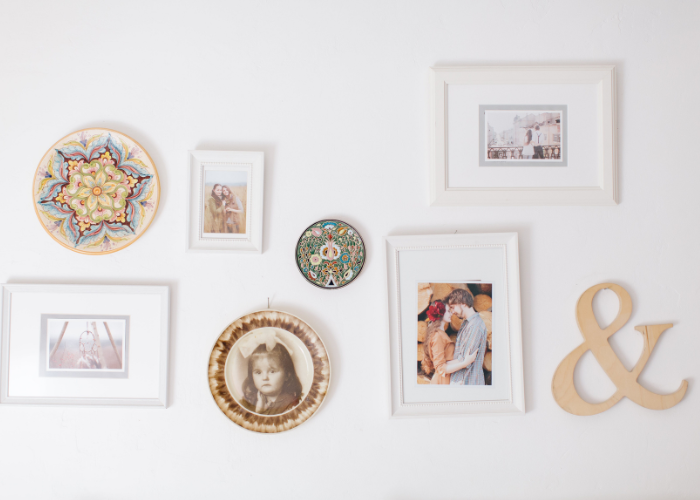
Some of your chosen items may not have frames, so you’ll need to decide if you’re going to go for matching frames or mix and match for a more eclectic look and feel in the room.
Step 3 – Measure
Measure the space on the wall you’ve chosen to host your gallery. Use a tape measure to mark the boundaries of your display.
Pro-tip: You can use painter’s tape to outline the area on your wall.
Step 4 – The Layout
Decide on the layout. Here’s where you decide if you want a grid gallery wall where everything is arranged in rows and columns, or you go free form. The choice is yours.
Begin by laying out your items on the floor or on a large piece of paper within the measured area. Play around with different arrangements until you find one that you like. You can use a ruler and a pencil to mark the gaps between each item.
Pro-Tip: Take a photo of your layout
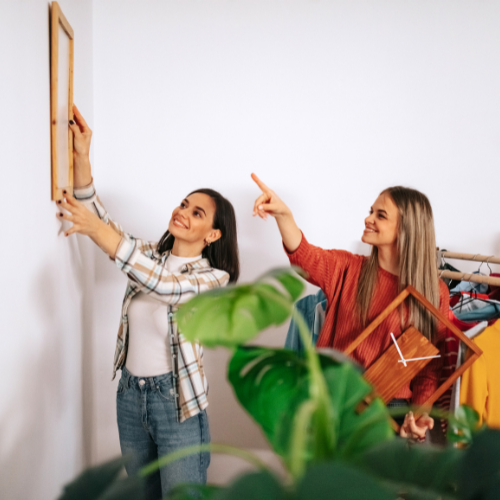
Step 5 – Get Hanging!
It’s now time to start hanging your items and this is where that photo you took of your items on the floor will be a useful reference. Generally, a good idea is to start with the largest or most central item and work your way outwards.
And that’s it. Once you’ve finished all your hanging, step back, admire your new gallery wall and enjoy!